A Guide on How to Patch Exposed Aggregate Concrete

Are Exposed Aggregate Concrete Driveways Right For Me?
May 17, 2022
Signs That Your Honed Concrete Needs To Be Repaired
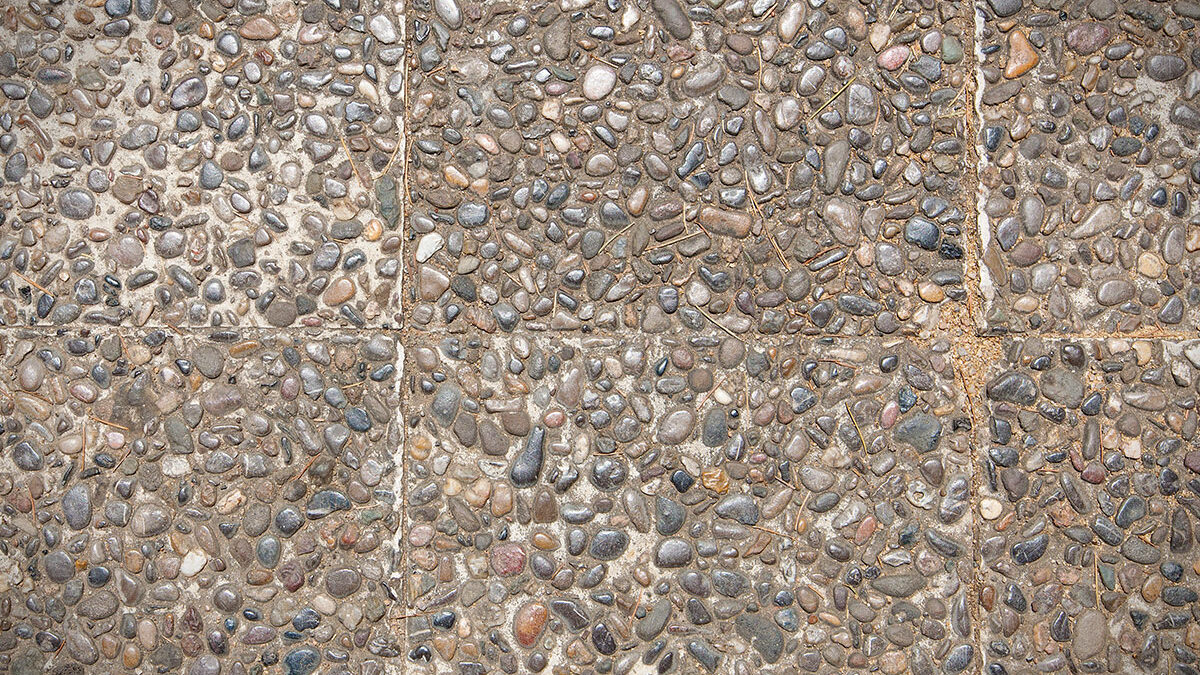
July 29, 2022Driveways, sidewalks, and other flat surfaces are commonly constructed with aggregate concrete. Although aggregate is durable, it can sometimes be broken but remain intact—loss of aggregate causes the slab to become bald or depressed on the surface. With patchwork, getting your concrete to look like they’ve just been laid out might be challenging, and that’s where we come in. In this article, we give you a helpful guide on how to patch exposed aggregate concrete, so your property will look brand new!
How to patch exposed aggregate concrete?
Patching exposed aggregate concrete is not simple, despite how bleak this may sound. Whether you undertake this as a do-it-yourself project or hire professionals to assist you, the following procedures must be completed for a successful repair.
- Preparation
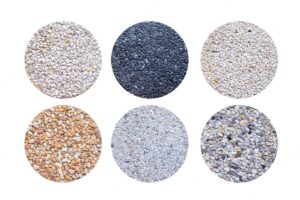
Always remember that prevention is superior to treatment, so take all the necessary precautions before starting. Remember to wear work gloves to prevent injury to your hands while you are repairing the concrete on your sidewalk or driveway. Be sure to acquire all the necessary materials for the project as well. Additionally, before pouring a single drop of concrete, it is essential to identify the required colour combinations. This boils down to two components: the colouring of the concrete base mix and the aggregate itself. You should ensure that both of these can be matched as closely as possible to ensure it matches the concrete you will be working on. The last thing you want is to let your driveway look very different from its original state.
- Cleaning the surface
It’s time to go to work prepping the surface now that the necessary supplies are within reach. Remove the debris and rough edges from the crack, hole, or dent. Using a broom or scraper, remove any loose material from the surface so that the fresh concrete may cling to it. To remove any remaining debris from the concrete, you can use a hose and sprayer attachment to wash the surface. The fresh concrete will not adhere properly if the area you will be working on is not clean. In addition, having dirt or grass embedded in the concrete would be an unappealing sight when you’re finished.
- Mixing the Concrete
Now is the time to prepare your materials. Following the manufacturer’s instructions, the concrete and aggregate should be combined to get the desired consistency.
- Pouring the right mixture
Make sure your surface is ready before adding the concrete so that it doesn’t come loose when the job is done and dried. This is accomplished by covering the freshly prepared surface with an epoxy glue coating. Wait until the epoxy is just the right consistency, neither too dry nor too wet, to move on to the following stage. Using a shovel, carefully pour the patched concrete into the exposed aggregate areas. Don’t forget to put as much concrete as possible where needed. For a proper seal and adherence, use equipment such as a putty knife or a wooden stick applicator to apply the concrete. In addition, make sure that the patch is level from top to bottom.
- Smoothing out the surface
Take your trowel and carefully smooth down the exposed aggregate concrete patching areas. Ensure that you act immediately before the concrete begins to harden. If you have numerous areas to fix, only use the minimum amount of necessary concrete and work on one section at a time.
- Adding the finishing coat
The final step is to seal the new patch to ensure its durability. The sealant may also aid in blending the patch with the surrounding aggregate. This coating must cure for at least 48 hours before the job can be considered complete.
If you wish to hire professionals who specialise in exposed aggregate concrete laying, feel free to contact Fluid Concrete! We specialise in liquid limestone, and exposed aggregate surfaces for outdoor areas such as roads, gardens, backyards, pool surrounds, patios, and walks. Whatever style of outside renovation you have in mind, we can assist you in achieving exceptional results within your budgetary constraints.


